
A Beginner’s Guide to Getting “The Shot”
It was nearly a decade ago when social media became more of a regular part of my life. I had used social media for a few years at that point, limited maybe to one or two platforms. Once I was in college meeting TONS of new people, I found myself downloading every app I could to connect with everyone around me! But of course, as I’m sure many others can relate, I soon found it all overwhelming. It was around this time when my friend John asked a question that has stuck with me: “If you had to drop to one social media platform to use forever, which would you choose?”
“Instagram!” I exclaimed. “Why would I try to say something with limited characters when a picture is worth a thousand words?”
Now at the time, I had no intention of becoming a professional photographer. I had barely just purchased my iPhone 4s! But there was something about seeing someone’s experiences that caused me to pause and appreciate a post, with or without a caption.
Fast forward. Smartphones are standard. Millions of pictures and videos are posted daily. There’s not a lot that leaves us in awe from images on our devices anymore. Yet somehow it still feels nearly impossible to resist the urge of pulling out our phones or cameras every time we go on a hike or see a blazing sunset, so it’s not like we’re going to stop creating content anytime soon. And if you’re anything like me, it’s that content creation that’s actually motivating you to get out and explore more!

Three “Rules” of Photography
Whether you’ve invested $5,000 in camera gear or find yourself content with Portrait Mode on your phone, you have the ability to tell a story that is beautifully unique to you. And with a few tips and tricks, anyone can take “the shot” that speaks a thousand words. So with that, I’d like to share a few “rules” (100% personal and unofficial) that have helped me grow in my photography and built confidence in creating a photo I’m proud to share!
Rule #1: Direct the Viewer’s Eye
There are countless subjects to take pictures of that hold beauty on their own: a white rose, a snowcapped mountain, a full moon, etc. And while pictures of these things do capture someone’s attention for a moment, on their own they can easily fall prey to a quick scroll. By taking a minute to look for a unique perspective that draws the viewer’s gaze from one side of the picture to the other, you create a story that grips a person’s attention.
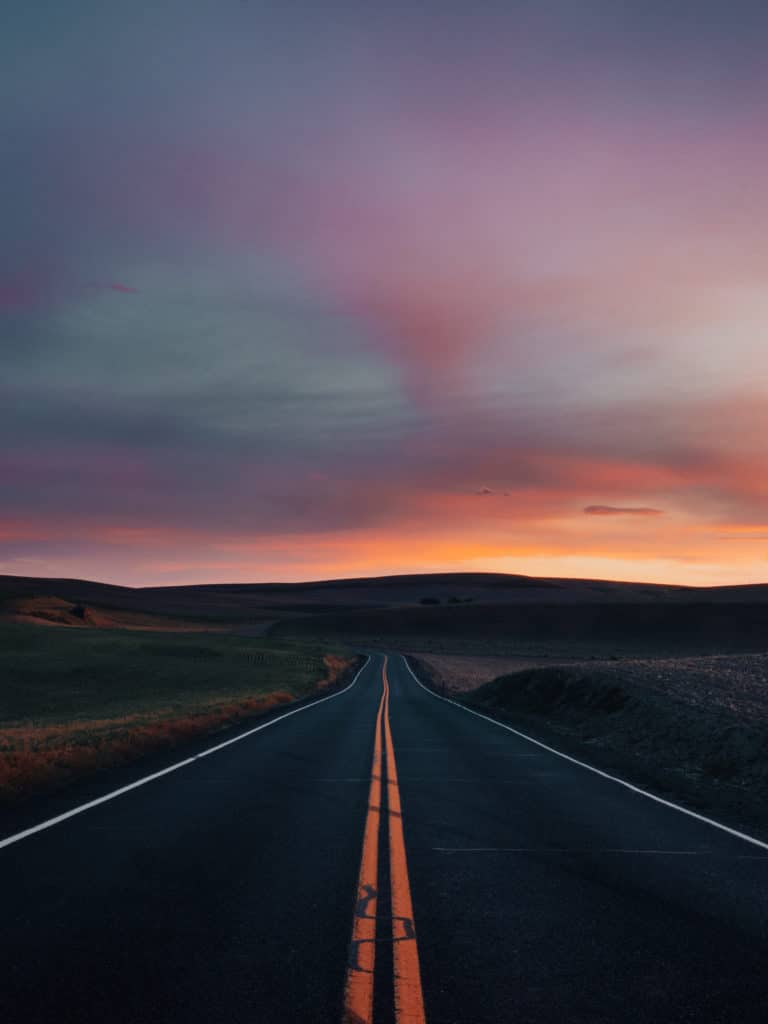
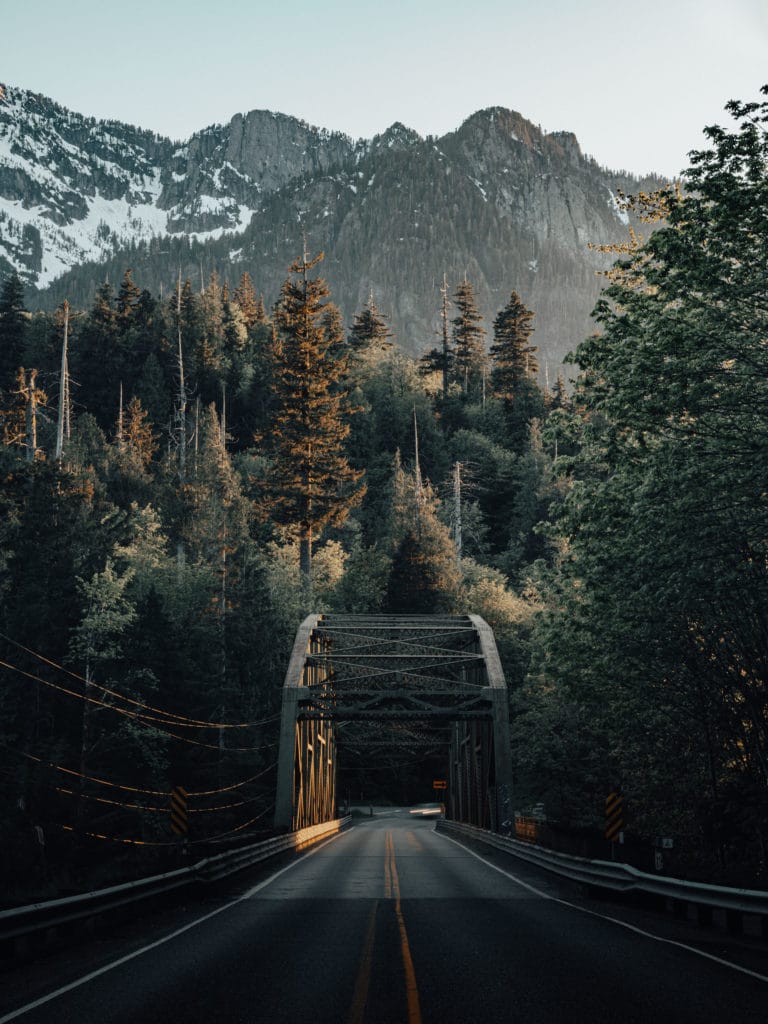
One way I practice this rule is by looking for “leading lines” that almost create a walkway from the bottom of an image to the top. A fun example of this is finding a safe roadway to use the center lines as a guide (just beware of traffic – it’s not worth it if it’s busy). But you can find this in ravines, along seashores, hiking trails…anything that catches your eye!
Another way I practice this rule is looking for scenes that go from dark to light, again from bottom to top. You see this a lot in silhouette-type landscape pictures around sunrise or sunset. I look at it like establishing a foundation. As the photo brightens towards the top, it’s like I’m revealing more of the story along the way. This can also be achieved with editing software, though you want to avoid making the photo look too edited if possible.

Rule #2: Frame Your Subject
Going back to the example of a white rose again, it has innate beauty to it that makes it worthy of a photo. But if there are several flowers and bushes around it, then it can be difficult to draw attention to that one rose.
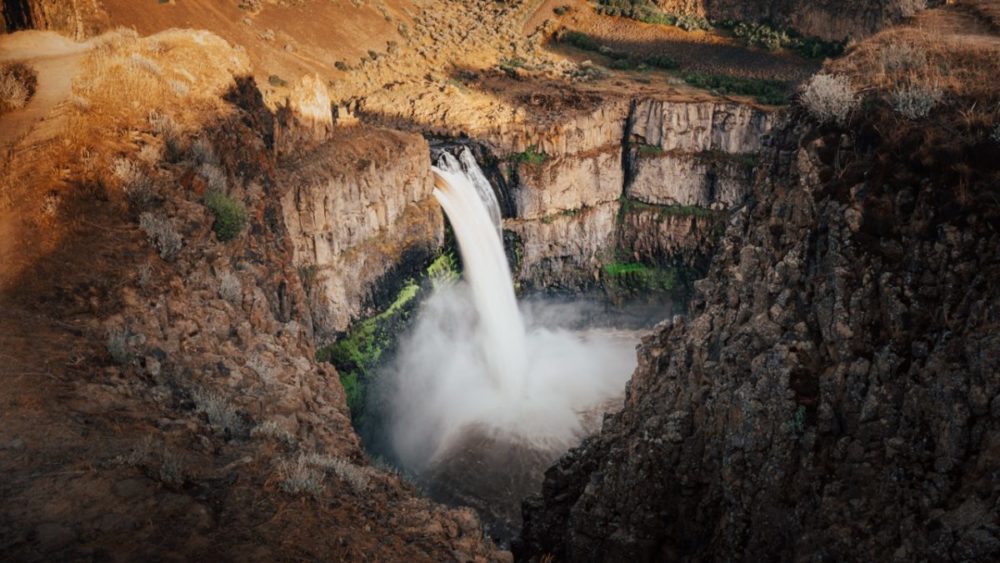
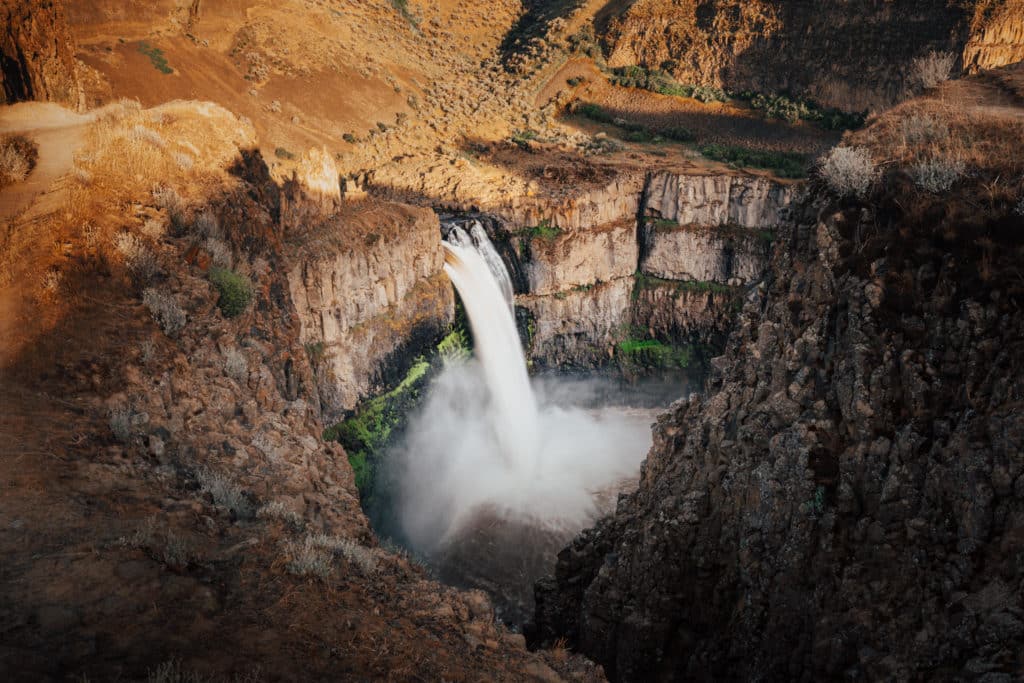
I like to approach this rule by imagining a frame around my subject. Frames can be ornate on their own, but they still primarily serve to amplify the subject. So in my example below, I could’ve taken a picture of Palouse Falls on its own and had a great shot. But after walking around I found a split in the cliffs that framed the waterfall beautifully in my mind, reducing the open space around it to hone my attention to the star of the show.
Sometimes it’s okay for the framing to seem mundane as well! Anything that serves to make the subject pop is a win. For example, grass might seem boring on its own, but it creates a beautiful backdrop for an animal that provides context and reference, adding to the image’s greater story.

Rule #3: Layers, Layers, Layers
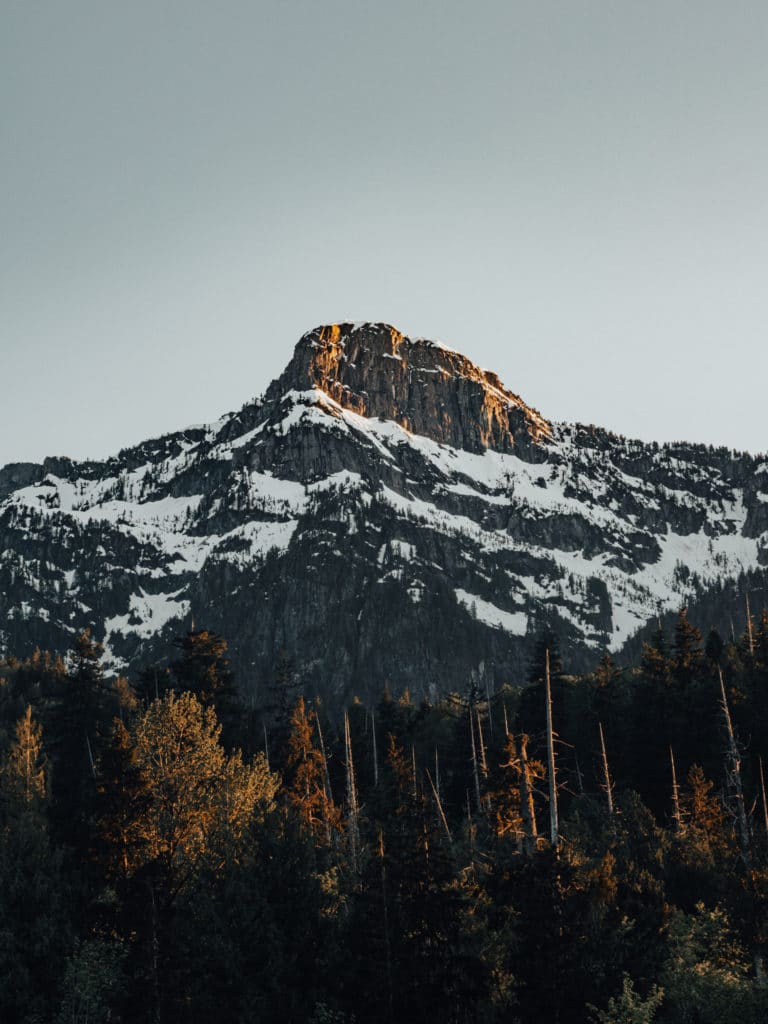
Just like a good movie often has several characters, scenes, and plotlines weaving together, landscapes often act similarly. It’s not just about the mountain; it’s about the foreground of the mountain drawing your eye, the sky, and clouds above it providing the frame – all aspects of the scenery coming together for a beautiful image. For this reason, I (like so many others) carry a wide-angle lens in order to capture every element of a landscape possible.
And on some rare occasions, you find killer examples where everything comes together right in front of you. The leading lines, brightness building from bottom to top, and a subject framed perfectly to make for a great picture to look back on.
While I’m positive there are myriads of guidelines and tips that could be added to this list, these three have helped me tremendously in looking for “the shot” in my shortlist of adventures. And the best part is that they’re not exclusive to those with a fancy camera! So before going out and spending hundreds or thousands of dollars on a bunch of new gear you might not need, try these methods out – that shot from your iPhone 4s may still be one of your favorite photos you’ve ever taken.


